
DIY Fruit Sugar
This is an adventure that is only just beginning. It started with a wild “what-if” and turned into a real world experiment with a delicious ending. What if you wanted to add a natural fruit flavour to a dish without adding the fruit in it’s raw, squishy, fleshy or cooked form, what if adding the fruit would negatively impact the texture? Maybe you want to spice up the rim of your cocktails, or make the ultimate crinkle cookies. Creating DIY Fruit Sugar means the possibilities are endless!
Making DIY Fruit Sugar started off with one of my favourites, Saskatoons. Making Saskatoon sugar was 100% trial, error and experimentation and I have already learned so much that I will change for next time. So, I have untested recommendations based on what I did this first time, but I will be trying this again and will post updates as we go. This first run of Saskatoon Sugar went into a batch of Mostly Classic Shortbread, which I would take a minute to check out if you’re a fan of shortbread.
Step 1
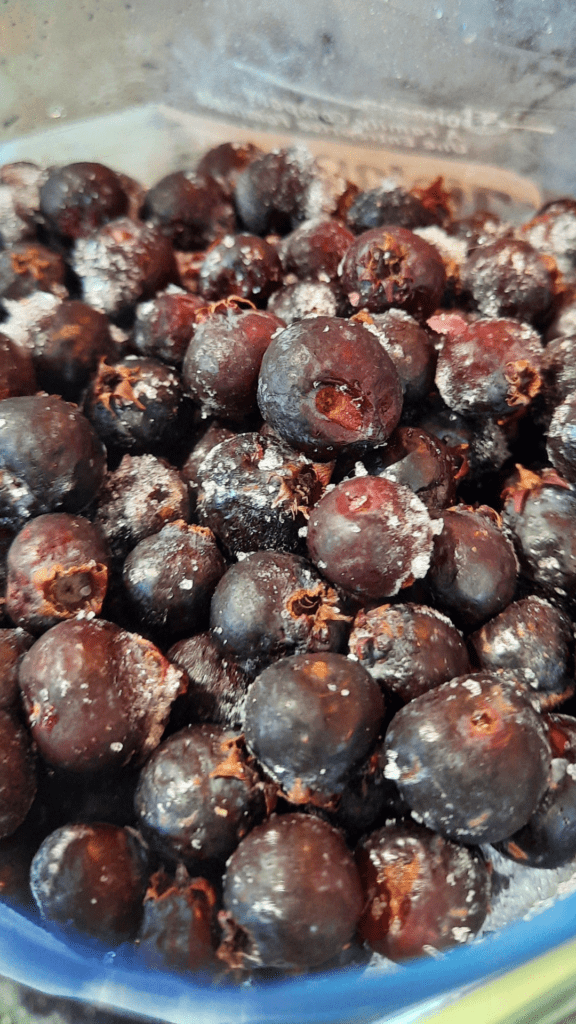
Get your fruit! I was given these gorgeous Saskatoons from my mother, she had them frozen from the past harvest and I am so excited!
I took 1 cup of frozen berries and set them in a small baking dish
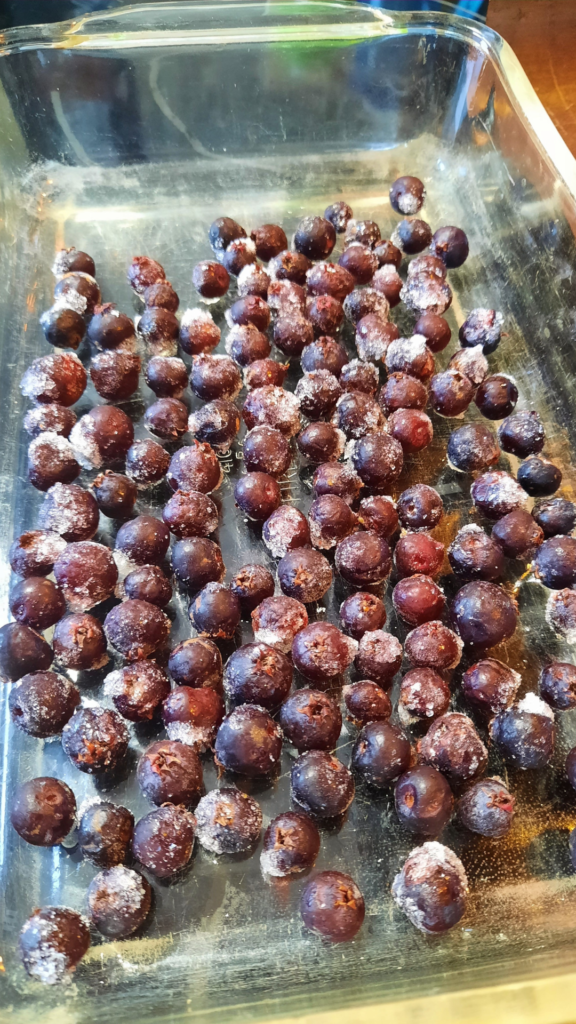
Step 2
In a dehydrator if you have one, or in an oven set to a very low temperature; I switched between 175° to 200°. Let them dehydrate completely, from frozen this took me about 5-6 hours, and honestly I got impatient and they weren’t completely dehydrated before I went on to the next step. And it was fine.
Step 3
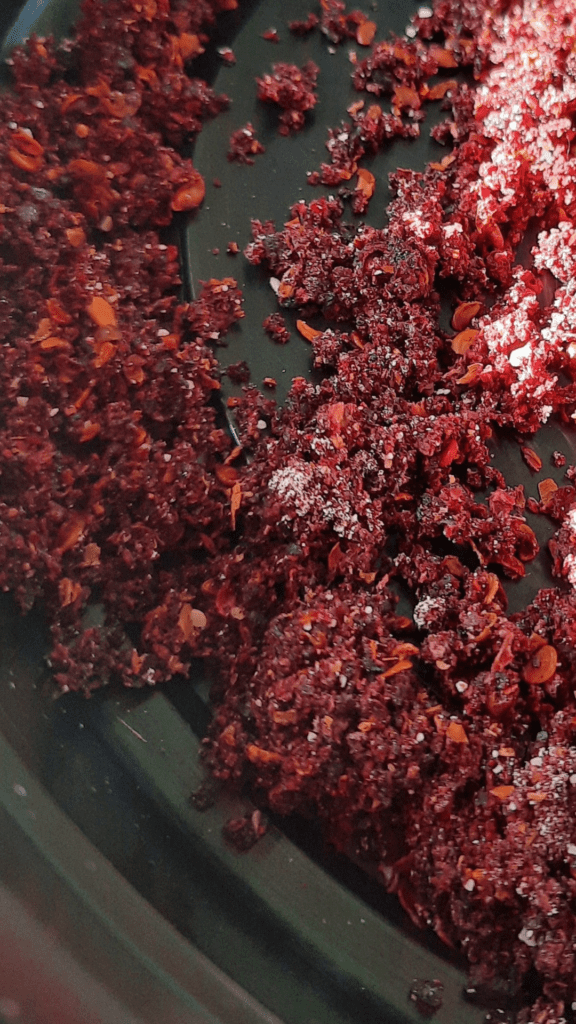
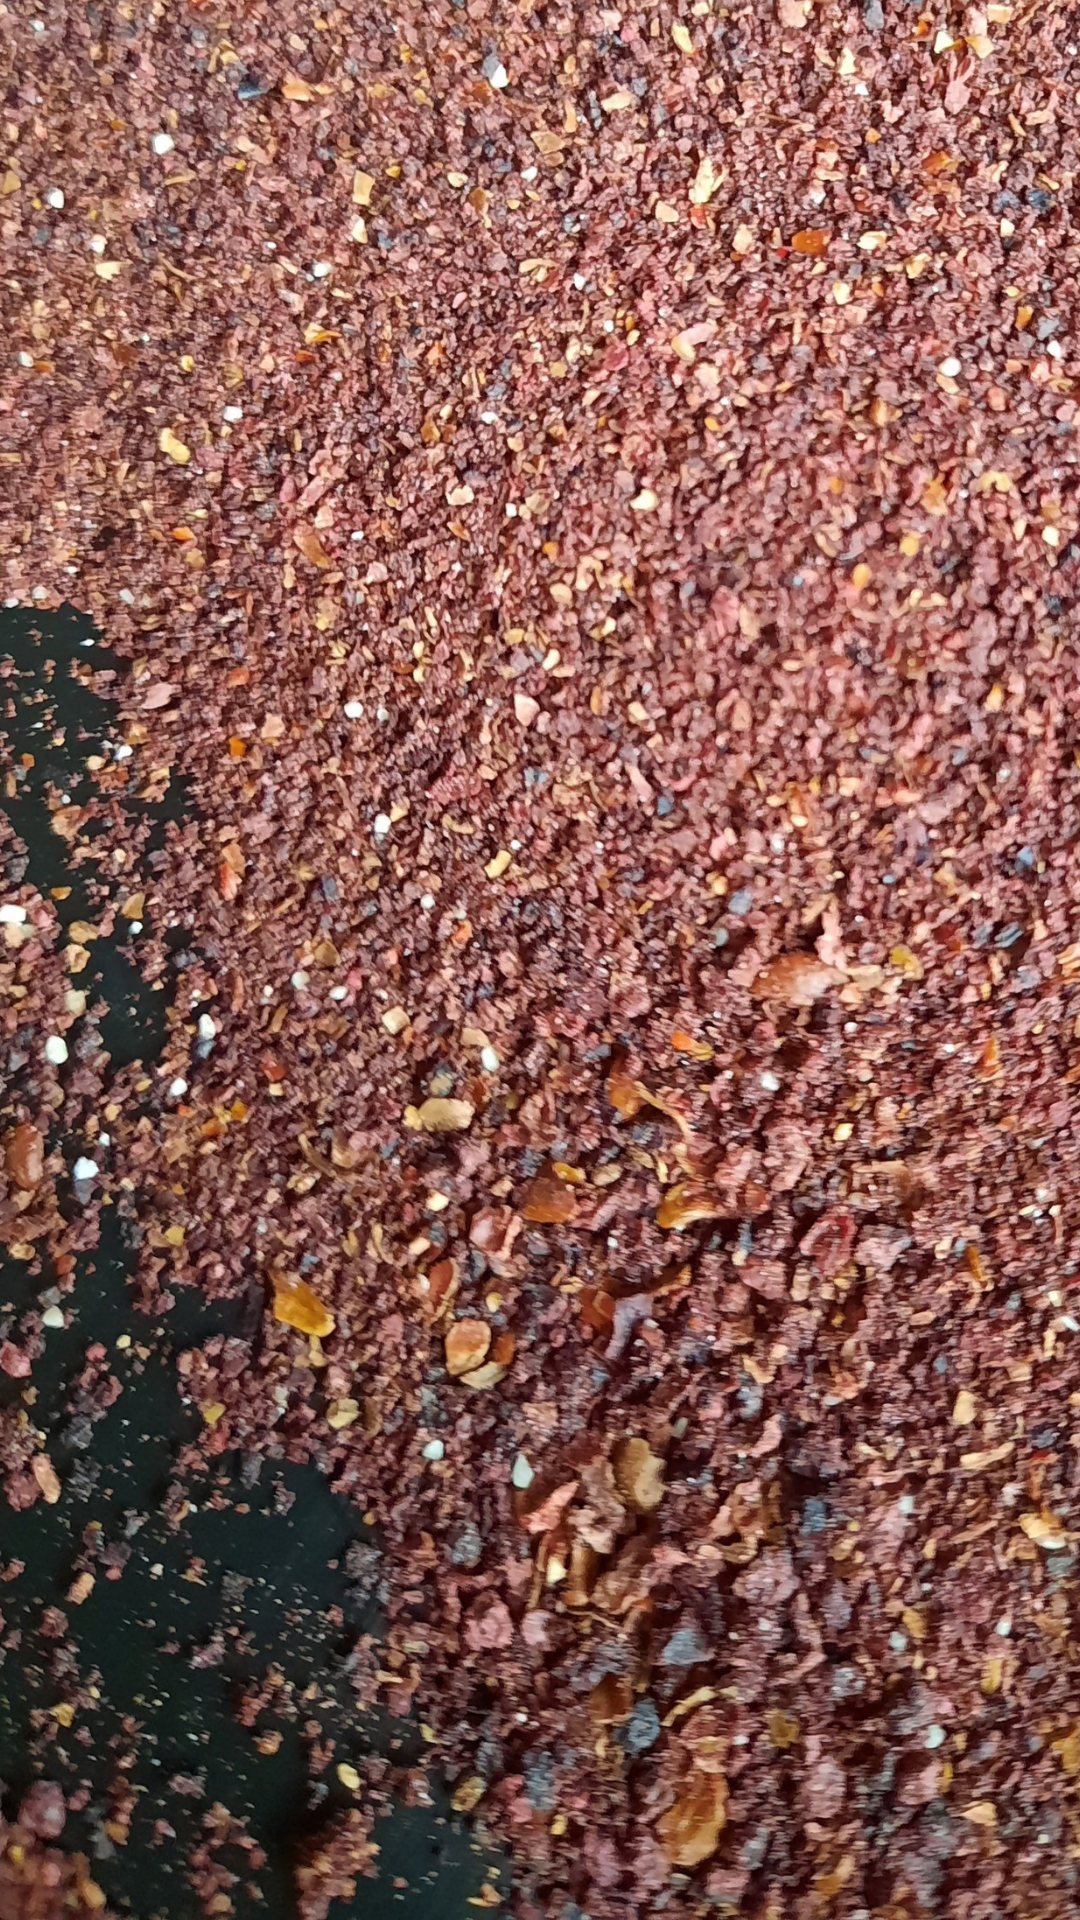
Put the dehydrated (or mostly dehydrated) saskatoons in a coffee grinder or mini food processor. Pulse, run and check frequently, while processing add in 2 tbsp of sugar. This can be granulated white, powdered sugar, or stevia. Because mine weren’t completely dehydrated they didn’t process finely, there were still some larger pieces. I set the rough cut in a large dish and set it in the sun for a day or two to finish drying.
Step 4
Process again if needed. If you got the fruit completely dehydrated and it processed finely the first time great! That is fantastic, go on and use it! If you’re like me then you may need to process it again. Add it back into your coffee grinder and run it again until you get the consistency you’re looking for.
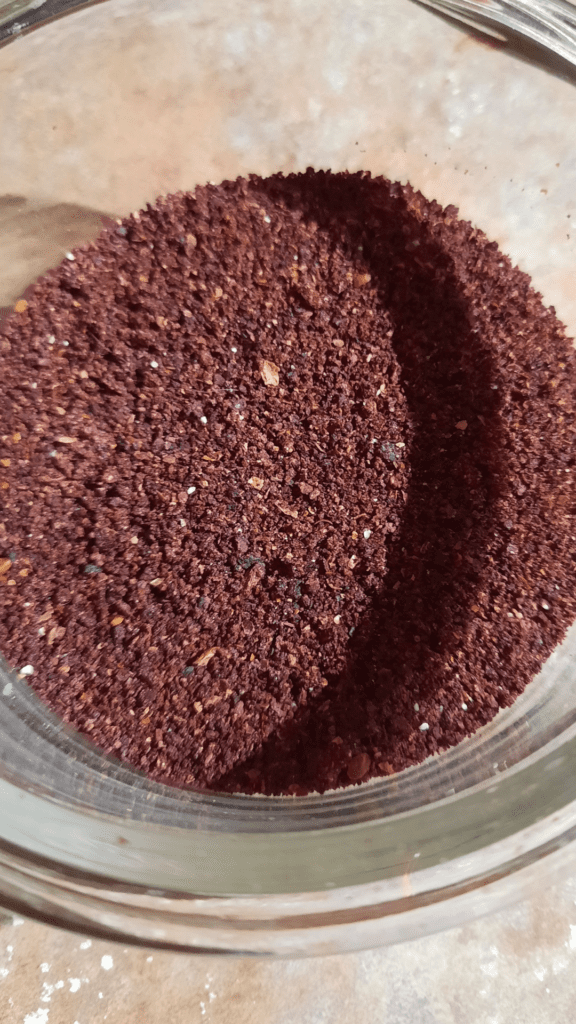
Step 5
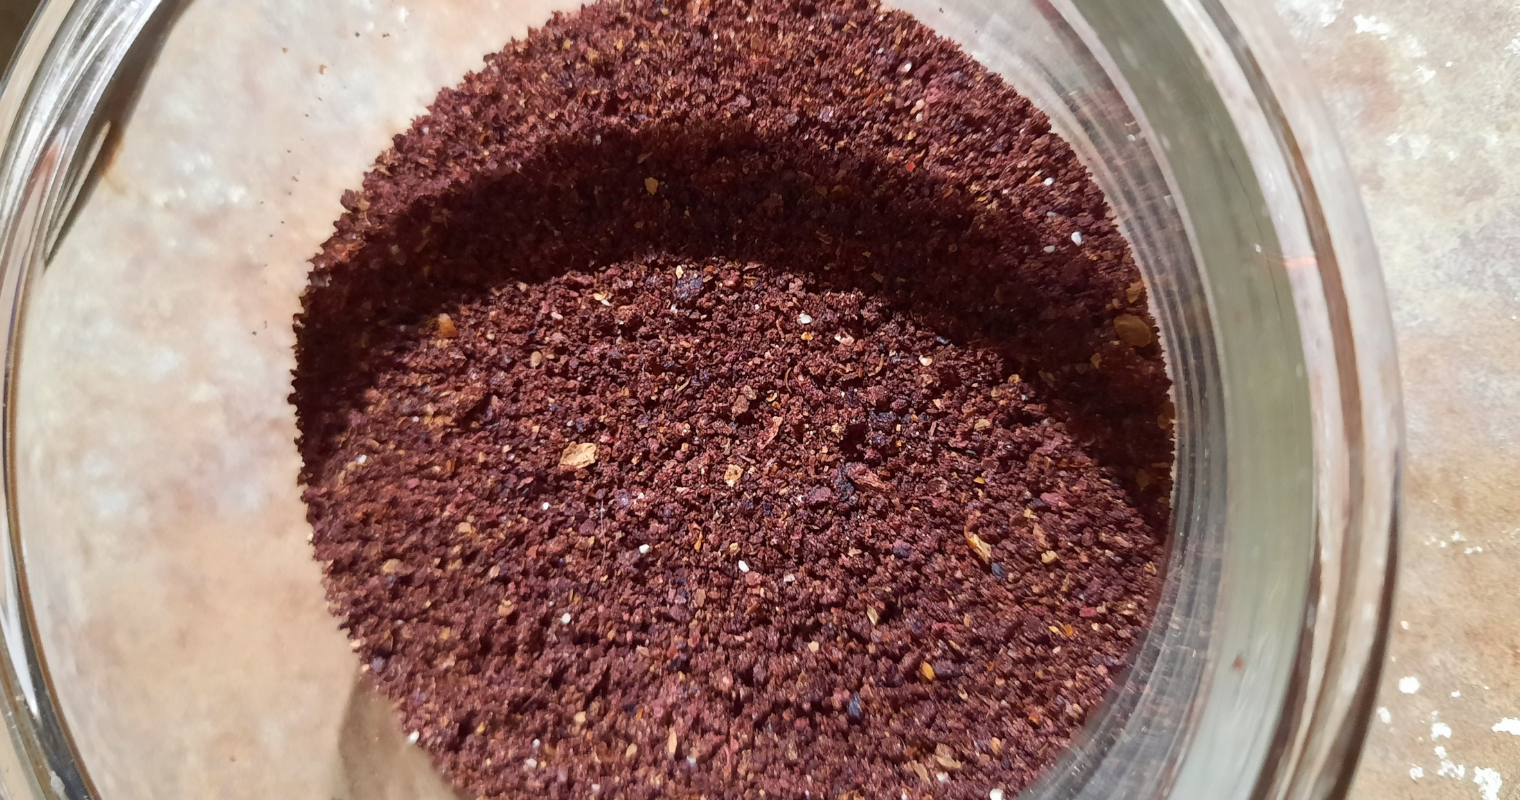
Use it! Add it to cookies, spice rubs, tea, cakes, cocktail rimmer, crinkle cookies, everything! I started with 1 cup of frozen berries, added 2 tbsp of stevia and ended up with 1/4 cup of saskatoon sugar.
Recommendations
What did I learn making DIY Fruit Sugar? A lot, a whole lot!
- Completely dehydrating the fruit is very important, it isn’t the end of the world if the fruit isn’t completely dehydrated when you process it but it’s going to take longer to get the final product.
- It takes a lot more fruit than I anticipated to get a significant amount of finished sugar. I was hoping to get 1/2 cup of finished sugar without over cutting with sugar/stevia. Each fruit is going to be different but my next test will be 4x the fresh fruit to the desired amount of finished sugar.
- There is the potential benefit to starting with freeze dried fruit – a suspicion that I will test but freeze dried fruit tends to be quite expensive, diy dehydrating is more cost effective.